Cross sectioning a forge weld
31 Dec 2024
The illustrious plan
At Oerkracht 2024, an amazing crafts camp that’s organized by a group called The Green Circle and led by Daan de Leeuw, I had a mind-blowing week forging with Kees Klaassen. Kees taught me the basics of forging tongs, and it was a real confidence builder. There’s really something magic that happens when you gather a diverse group of people around a common goal, in this case the appreciation of crafts and the outdoors.
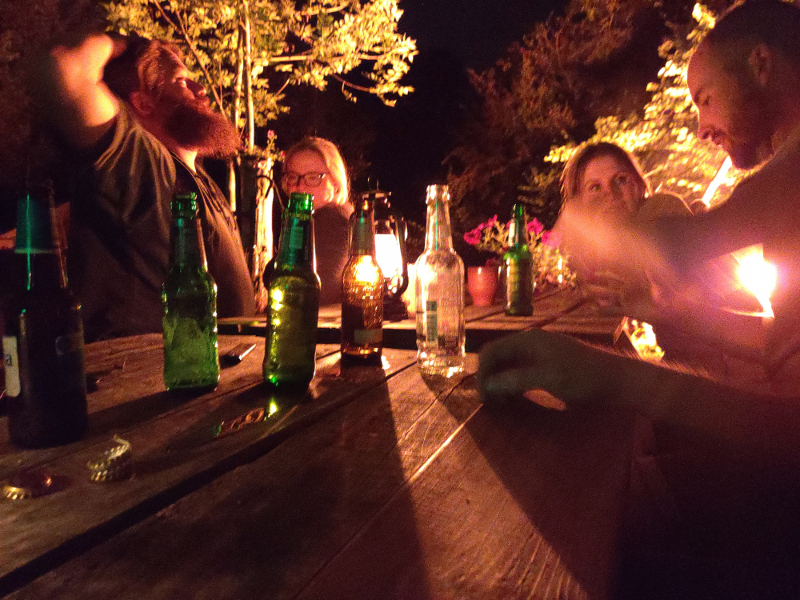
There’s a whole other level of magic that happens after dark, when the campfire is lit. Among the philisophy, life challenges, bad jokes and general socializing, Kees came up with a plan. Undoubtedly inspired by the abundance of material present at the time, the idea was born to demonstrate forge welding by creating a small billet from bottle caps, and perhaps to forge this into a drinking cup.
It all comes together
It is obvious when you look at a crown cork, that we are not only dealing with the base metal. I suspect that the material is tinned, in order to reduce corrosion. The inside is plastic-coated in order to seal against the glass. And the outside is painted, for commercial reasons.
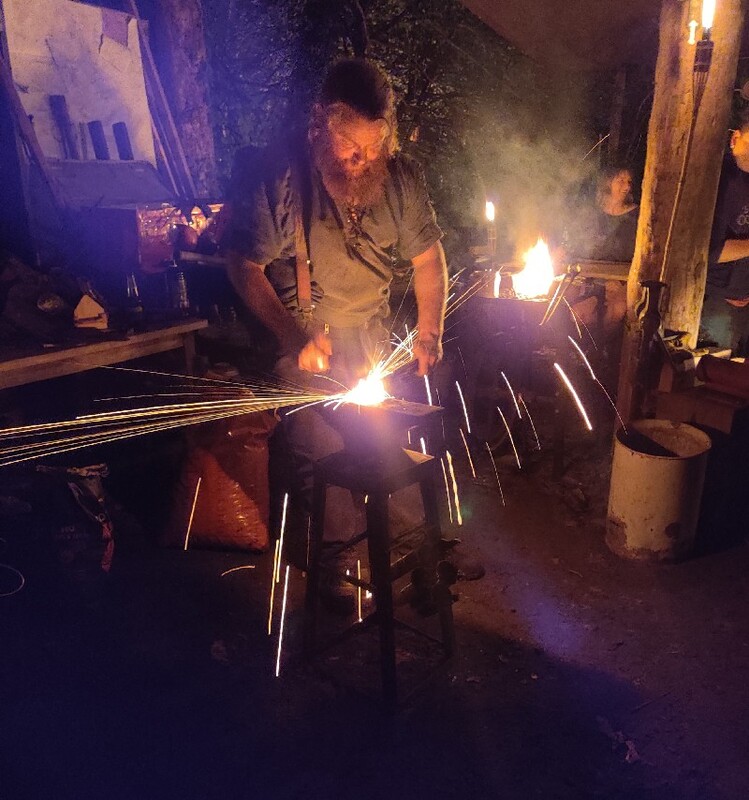
A practical issue is that the corks are not flat when they come from the bottle. Kees came up with a reasonably efficient way of squashing the caps, and they were easy to stack on a nail after piercing them with a nail. The stacks were then forge welded. During heating it was quite obvious that the coatings were burning away, and at a higher temperature the (tin?) plating fizzled and disappeared. The stacks of caps seemed to weld nicely, although it was obvious on the first few hits that lots of waste was being expelled. Keeping the stack together with tongs in the fire was not easy. Burning the edges, however, was not difficult at all.
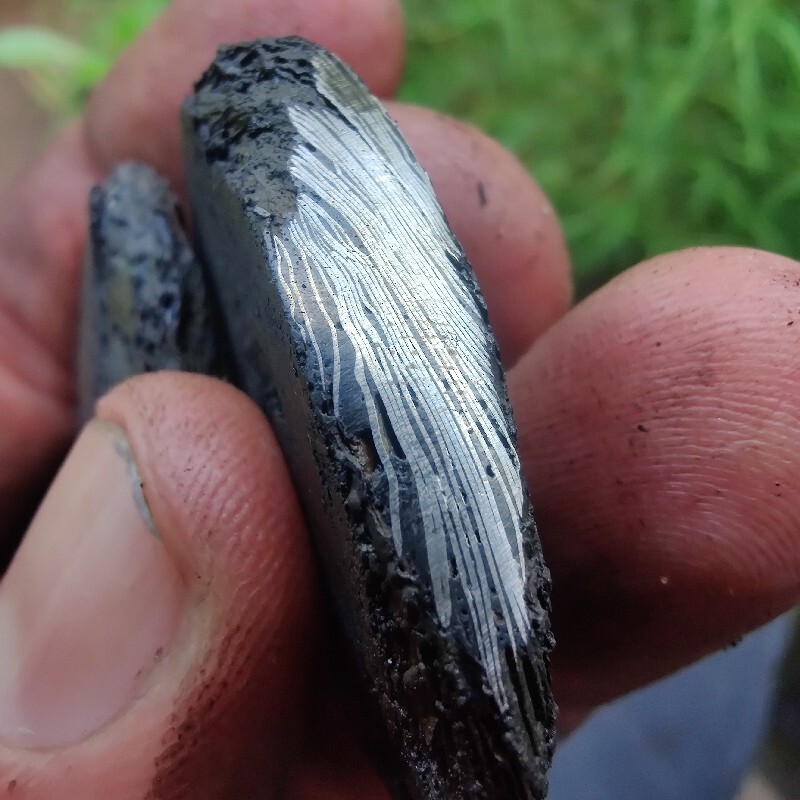
A quick grind showed quite a promising result on the first billets. It’s clear that there are still dark lines between the layers: this probably means that the welds are still incomplete. We’re probably looking at oxides or carbides, which were not yet fully expelled. It’s remarkable how little of the total puck cleans up to bright metal. A large portion of the puck is apparently some amorphous nonmetallic junk.
One of the students also attempted to weld a spare stack during the next day, and that might be the one that was cross-sectioned below.
Back to the lab!
A caveat is in order: I’ve only been working in Metallurgy (as a specialization of materials technology) for maybe 2 years, on and off. And due to the nature of my job, most of this has been on stainless steels, and low-carbon variants at that. But I really couldn’t look at this crown-cork-welding experiment without itching to cross-section it properly. It’s a great excuse to practice metallography of low-alloy steels, and I’m just really, really curious to learn more about the forge welding process. Was the original structure of the caps still visible? Or was the weld complete enough to reset the material’s history fully?
One of the pucks was cross sectioned with a fine Bakelite-bound aluminium oxide cutting wheel and water cooling. One of the halves was cross-sectioned again, at right angles to try and catch as much of the sample in just 2 sections. Two of the parts were embedded in an acrylic resin. This helps with the grinding and polishing: it serves as a nice handle and prevents the edges from being damaged or rounded.
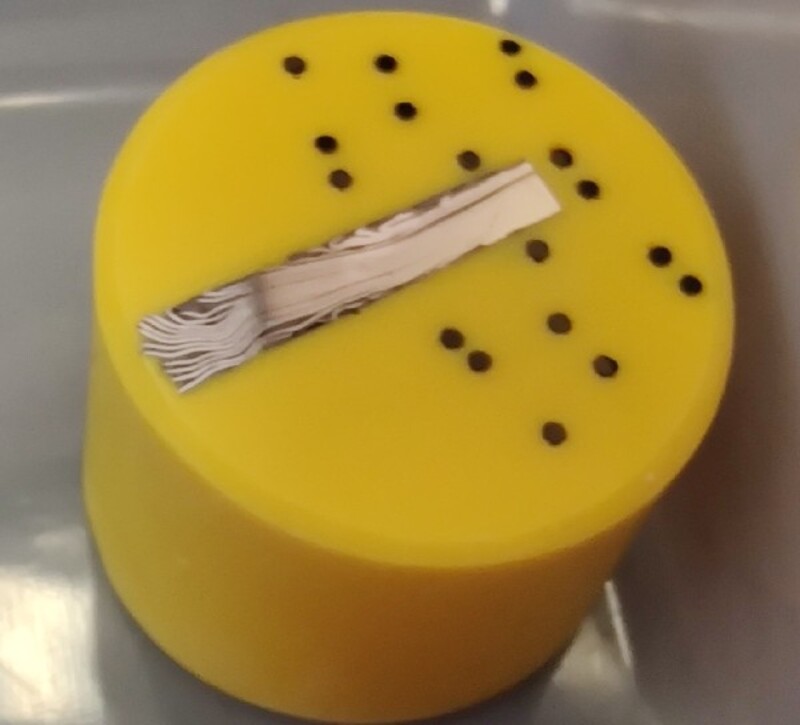
After embedding, the surfaces were cleaned and flattened by wet grinding on subsequent SiC-paper grits (EU grit numbers 300 & 800, probably). The scratches were removed by fine grinding using 9um and 3um diamond suspension on suitable cloths. Fine polishing was done by fumed silica suspension on a neoprene cloth. The grain structure was made visible with a short Nital (3% nitric acid in ethanol) etch. The microscope shows that I need to improve my neutralization: the etchant got trapped in crevices in the samples and caused discoloration.
All in all, quite a normal metallographic preparation on a relatively straightforward sample. All with the goal to get to the microscope and see the inner workings of the material.
Under the microscope
The cross-sections nicely show the different phases of forge welding. Some material is still completely unattached. Then, some layers show attachment, but still have the original grain structure. In other areas this attachment is incomplete, with the black junk in between. With further welding, the original layers become invisible and the material becomes homogeneous. But still some amount of black material is present on the grain boundaries. With forther working, this can be slowly expelled.
I’ll discuss both samples separately, although I’m not sure that they show much difference in the results. Please note that under the microscope, the discoloration is very visible around any cavities in the material: this was caused by the incomplete neutralization of the etchant. Although this staining is technically an imperfection in the cross-section, it can help to indicate that cracks and imperfect welds are present. The colors of the samples were arbitrarily chosen, and have no real meaning.
The yellow sample
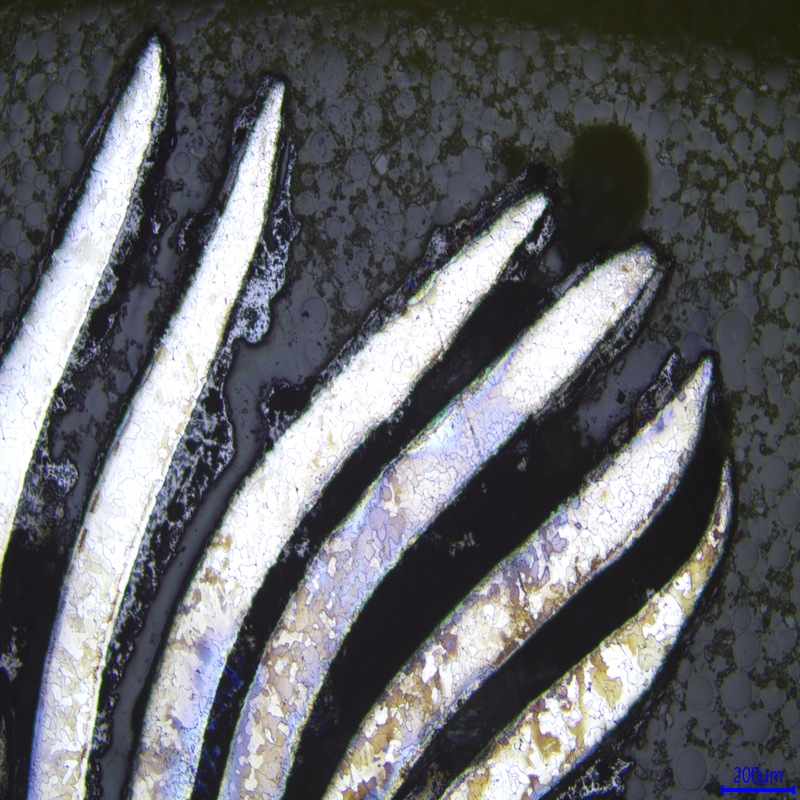
The edge of the puck was obviously not welded. The edges of the individual caps show rounding, probably because they were partially burned off.
The extensive staining in this picture is caused by the imperfect penetration of the embedding resin into the gaps between the layers.
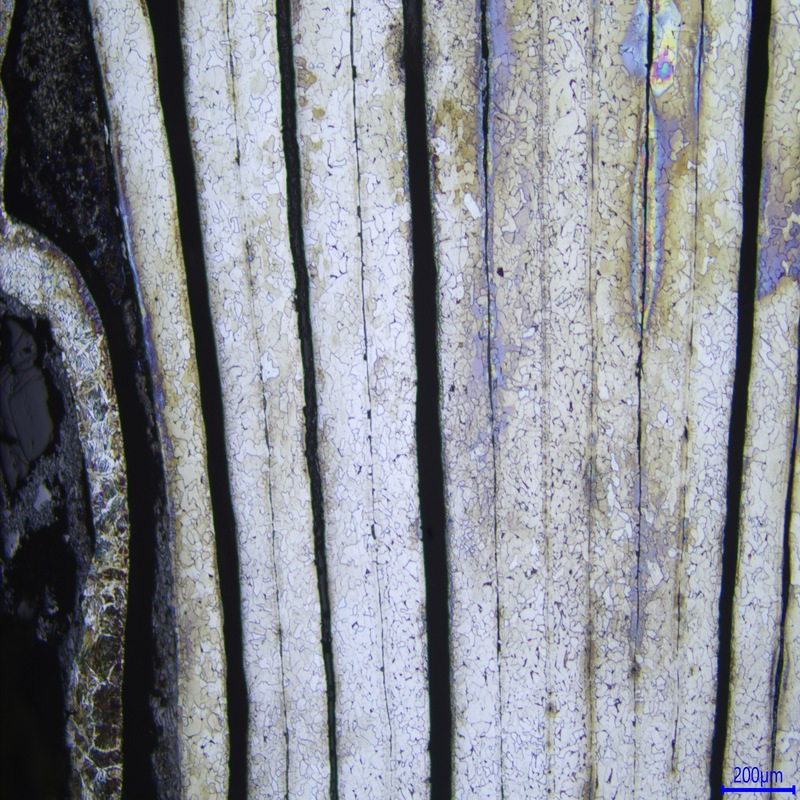
Moving further to the core of the puck, some more succesful welding has occurred. We still see some of the caps separated, but we also see some welds being formed. Note the significantly different grain structure around the weld aread: it is still clearly visible in the material structure. New grains are being formed that join the layers, but the material is not yet homogeneous.
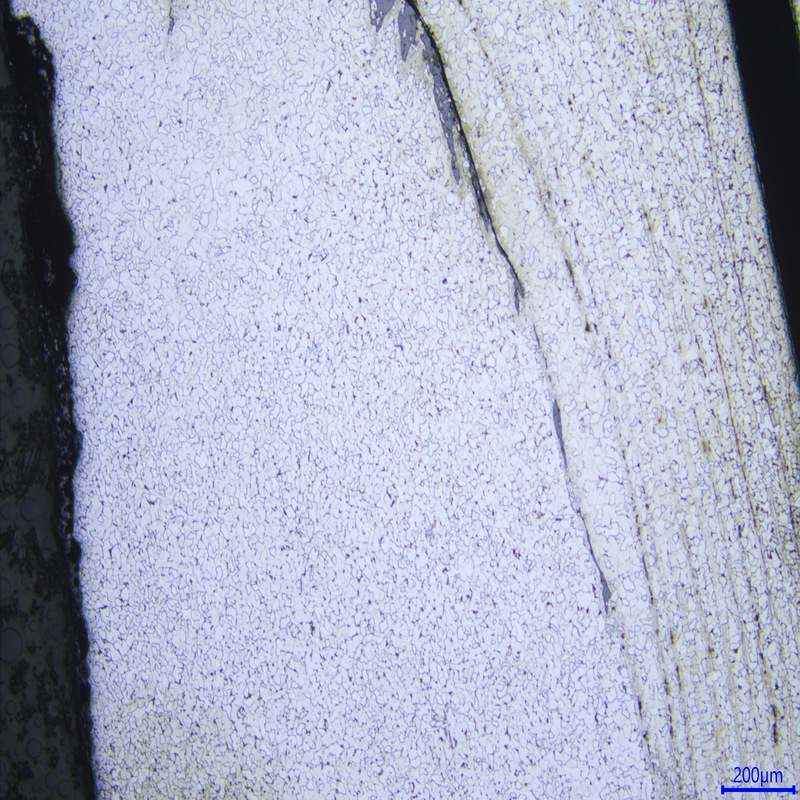
Even closer to the center of the puck, we are starting to see some homogeneous material. This is where the weld has been hot enough for long enough to allow full diffusion. There is no trace left of the original structure of the caps. Nevertheless, some large defects are still present, most likely containing foreign materials such as scale, flux and foreign elements. In such a state this material as a whole will not yet have significant strength, and large deformations such as forging and especially deep drawing will be problematic.
When looking at the grain structure, many dark spots are observed at the grain boundaries. It would have to be analyzed to be certain, but this is most likely some pearlite, where the carbon content has concentrated into a lamellar structure of carbon-poor and carbon-rich regions. Visually this seems about correct for a typical low-alloy steel with a low but nonzero carbon content.
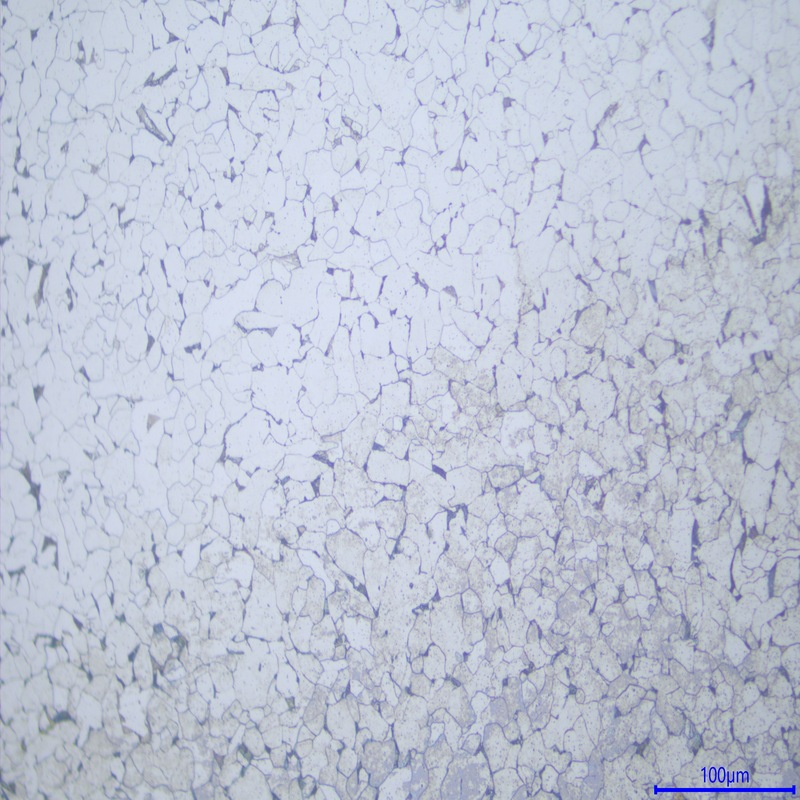
At larger magnification, the suspected pearlite regions are easier to see, although the preparation quality was insufficient to clearly show the pearlite banding at this magnification.
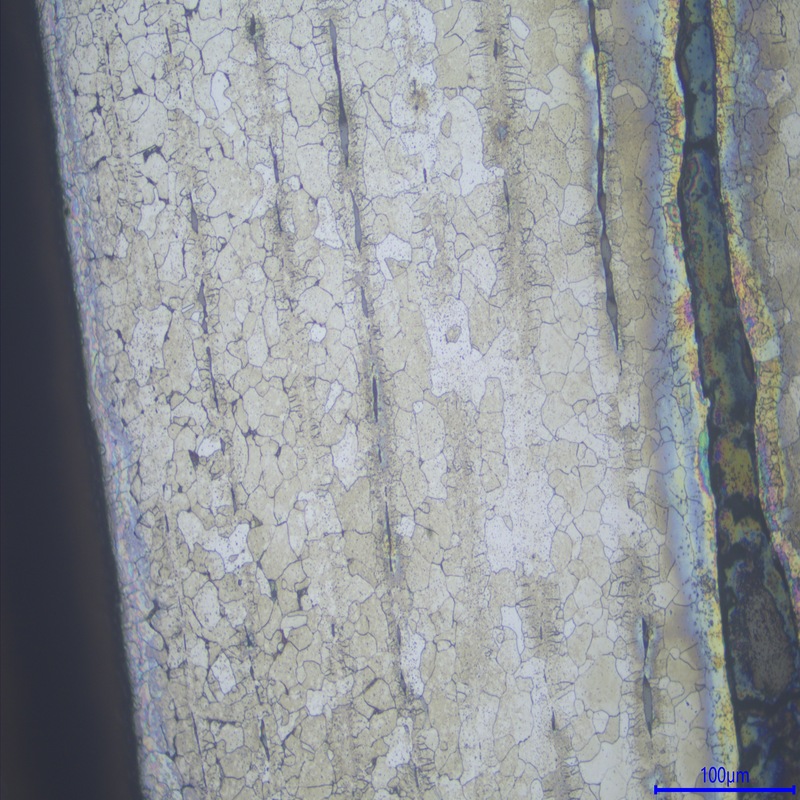
The same larger magnification in a less homogeneous location shows several interesting properties. First, several stages of the welding process can be seen, from complete separation, to gradual closing of the gaps, to fully welded with visible boundaries to fully welded homogeneous material. Also visible in some spots is the grain enlargement which will inevitably happen with extended time at temperature.
Note the areas where the dark intergranular material is largely absent. Perhaps the thermal history at these locations has led to redistribution (dissolution) of the carbon? Not sure what is happening there.
The red sample
The red sample shows a structure which is not significantly different: not surprising since it came from the same part. I’ll only show a few sections which contain something new.
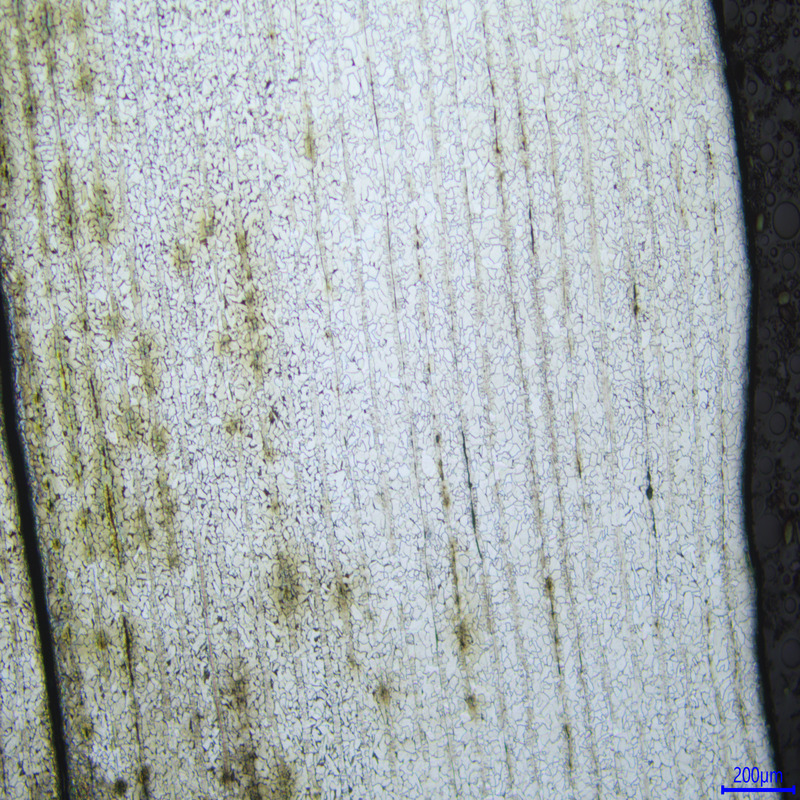
This is a nice area where the weld is quite homogeneous, albeit not quite complete yet.
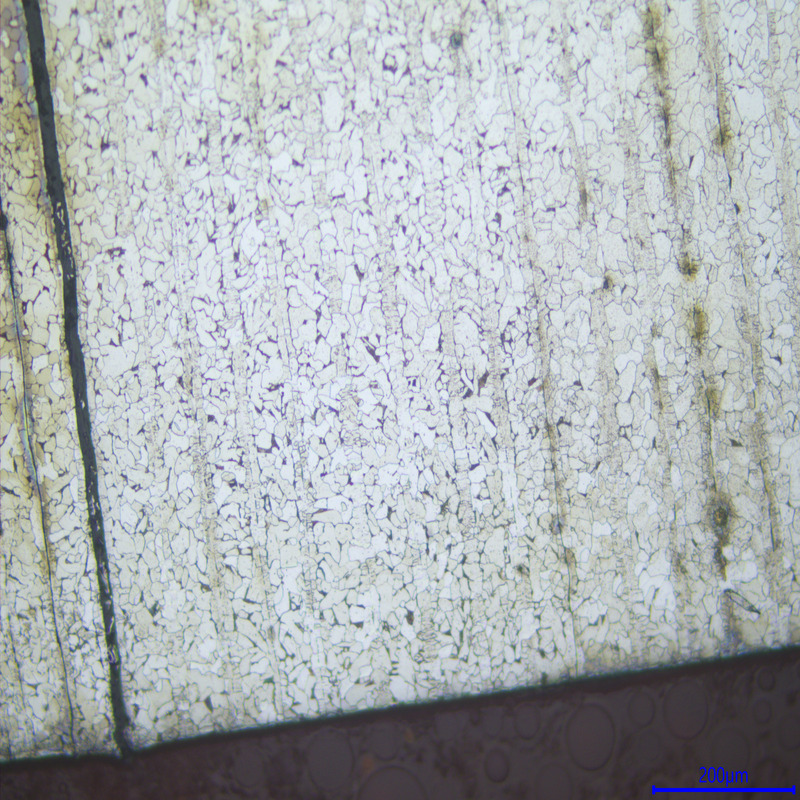
I’m showing the picture above mainly as context for the next of the same location at a higher magnification. I find the columns of small grains around the weld sites quit aesthetically pleasing.
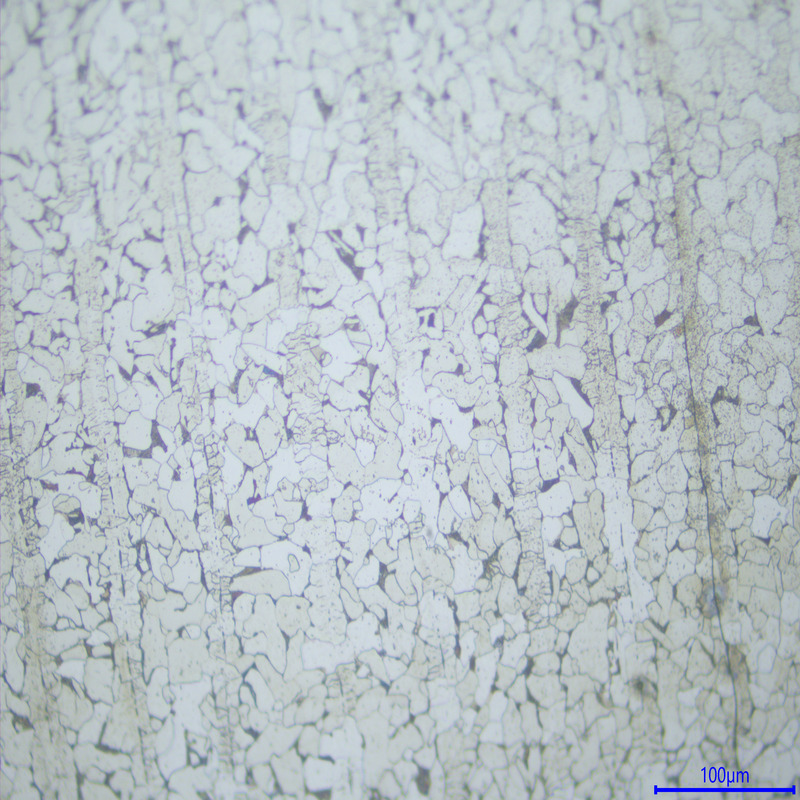
This larger magnification above gives a nice view of the welded grain structure. Some imperfections still remain and the grain structure has not fully annealed. Compared to earlier images at the same magnification, the grain structure is still very fine.
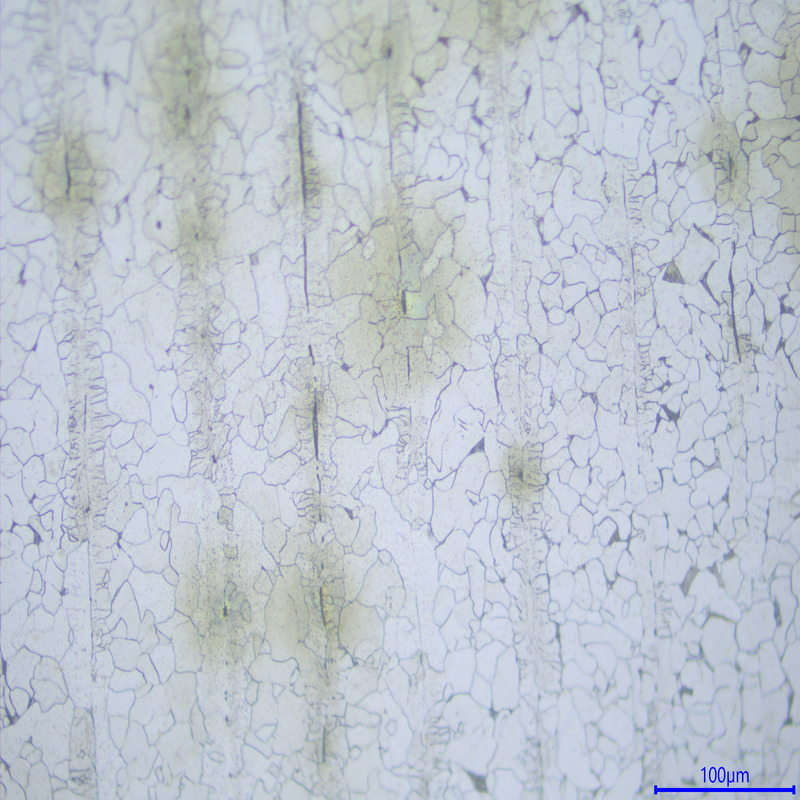
The same magnification at a nearby location shows the structure of the imperfect welds. We can see that bridges have formed with very small grains.
Next steps
I would like to update the blog structure so that I can better handle these large files. I would also like to offer clickable original-sized pictures, because at the moment we are discarding lots of detail.
Metallurgically, I would like to section a few representative crown corks in order to confirm the presence of pearlite in the steel. Which brings me to the all-important next step:
Drink beer. It’s for science!